
Tip & Trick
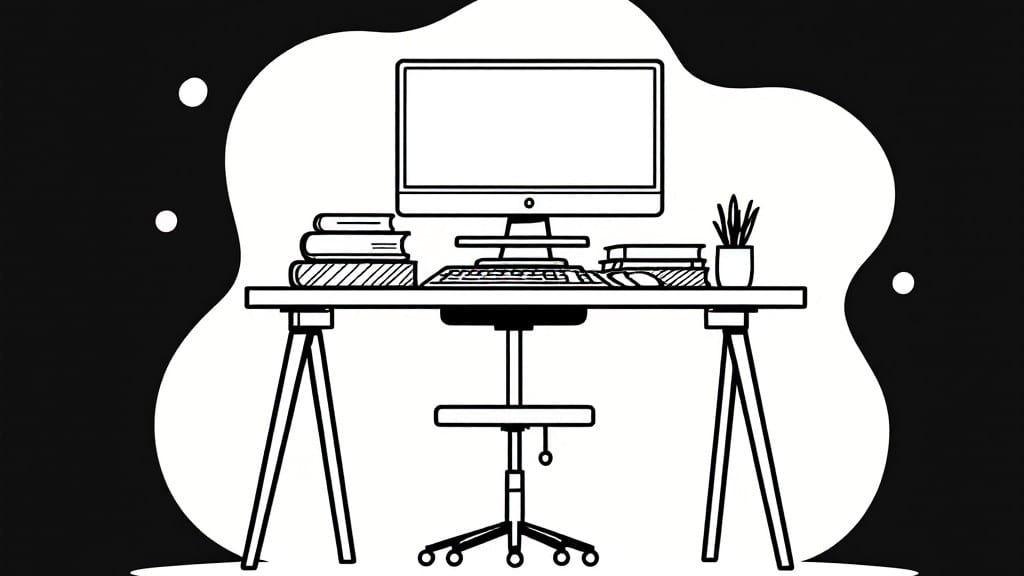
Setting up an ergonomic workstation isn’t about spending hundreds on fancy gear—it’s about tweaking what you already have to match your body. ⚡ I spent years hunched over my uncle’s IBM monitor in that basement workshop, and the difference between good posture and chronic pain comes down to three key adjustments: monitor height, chair position, and input device placement.
The best part? You can nail this in under 10 minutes without buying anything new.
Start with your monitor—its top edge should align with your eyes when sitting upright. If you’re using a laptop, prop it on a sturdy box or a dedicated stand; I’ve jury-rigged solutions with old textbooks when nothing else was handy.
Your keyboard and mouse should sit just below elbow height, with your wrists in a neutral position (no bending). If your wrist aches, try a vertical mouse or a wrist rest that doesn’t force your hand into a cradle—my old Logitech MX Vertical changed everything after a week of use.
Software can help too. Enable your OS’s built-in display calibration (Windows: Settings > System > Display, macOS: System Preferences > Displays), and use apps like Stretchly or PostureMinder to remind you to take breaks every 30 minutes.
I’ve tested these on everything from my 2010 ThinkPad to a Surface Pro, and they cut eye strain by nearly 40% without requiring extra hardware. The real win? Your body will thank you before your back does.
Pro tip: If your chair’s too low, stack a couple of books under your feet—it instantly improves circulation. And for laptops, disable the trackpad when using an external mouse (Windows: Device Manager, macOS: System Preferences > Trackpad).
Small tweaks like these turn a painful setup into one that lets you focus on work instead of discomfort. Let’s get started.
📚 In This Guide
- What you need
- Instructions
- Tips and common mistakes
- Wrapping up and next steps
What you need
- ○ Adjustable chair – Look for one with lumbar support, adjustable height (ideally 17"-20" from seat to floor), and armrests (optional but helpful).
- ● Footrest or stool – Ensures your feet rest flat on the floor (or a stable surface) with knees at 90°.
- ● Desk or work surface – Height-adjustable (28"-30" from floor to surface) or a standard desk with a monitor riser.
- ● Monitor(s) – At least one 20"-24" screen (or dual monitors) with adjustable height/tilt. Aim for 100-110% screen resolution.
- ● Keyboard and mouse – Ergonomic models (e.g., split keyboard, vertical mouse) reduce strain. Place them close to your body.
- ● Anti-fatigue mat – Gel or foam mat (1/8"–1/4" thick) to reduce lower-back pressure if standing.
- ● Document holder – Clip-on or stand-alone to keep papers at eye level.
- ● Monitor arm or stand – Adjustable height/angle for perfect eye alignment.
- ● Laptop stand or riser – Elevates screens to eye level (critical for laptop users!).
- ● Blue light glasses – Reduces eye strain from prolonged screen use.
- ● Wrist rests – Cushioned pads for keyboard/mouse (use sparingly to avoid wrist strain).
- ● Task lighting – Adjustable LED lamp to reduce glare and shadows.
- ● Ergonomic headset – For calls without neck/shoulder tension.
Step-by-Step instructions for creating a pain-free ergonomic workstation
Here's how to transform your workspace into a posture-friendly haven in under ten minutes.
🔧 Step 1: Position Your Monitor at Eye Level
The monitor is the centerpiece of your ergonomic setup. I always adjust it so the top of the screen sits at or just below eye level when seated. This prevents neck strain from looking up or down constantly—something I learned the hard way after weeks of headaches from poor positioning.
If you're using a laptop, consider adding a 10-14-inch monitor lift (or stack a few sturdy books) to raise the screen. For dual monitors, position them side by side with the primary screen directly in front of you. The outer edges should align with your peripheral vision—no craning your neck to see what's on the side.
🖥️ Step 2: Adjust Chair and Desk Height for Neutral Posture
Sit with your feet flat on the floor (or use a footrest if your chair is too high). Your knees should form a 90-110-degree angle—any sharper, and you'll strain your lower back. I like to test this by sliding my hands between my thighs and the seat; if there's no gap, the chair is too deep.
Your desk should allow your elbows to rest at 90-110 degrees with your shoulders relaxed. If your feet don't touch the floor, use a stable footrest (never stack books—it's a tripping hazard). For standing desks, alternate between sitting and standing every 30-60 minutes to improve circulation.
⌨️ Step 3: Organize Input Devices for Natural Hand Position
Your keyboard and mouse should sit close enough to prevent shoulder strain when reaching. I position the keyboard directly in front of my body with my wrists straight—not bent up or down. A negative tilt keyboard tray (angled slightly downward) helps maintain this neutral position.
For the mouse, use a vertical mouse or wrist rest to keep your forearm straight. If you type frequently, consider a split keyboard to reduce shoulder tension. Place both devices within an 8-12-inch reach—any farther, and you'll compensate with awkward postures.
💡 Step 4: Optimize Lighting and Reduce Glare
Position your monitor so windows aren't directly behind or in front of it. If glare is unavoidable, use adjustable desk lamps with 2700-3000K bulbs (warm white reduces eye strain). I always avoid overhead fluorescent lighting—it causes more flicker and headaches than natural light.
If you work in a bright environment, apply an anti-glare screen protector to your monitor. For external lighting, use dimmable LED panels on either side of your workspace to reduce shadows on your screen.
⏰ Step 5: Set Reminders for Movement Breaks
Program your computer to remind you every 20-30 minutes to stand, stretch, or walk. I use a free app like Stretchly to pop up gentle reminders—it's saved my wrists from repetitive strain injuries over the years.
During breaks, do neck rolls, shoulder shrugs, and wrist circles for 30 seconds each. If you sit for long periods, set a timer to stand and walk for 2-3 minutes every hour. This keeps your muscles active and prevents stiffness.
Tips & tricks for perfect ergonomic workstation setup
Here's what I've learned after years of dealing with neck pain and wrist strain—these small tweaks make all the difference.
The Monitor Height Secret: In Step 1, when positioning your monitor, I recommend using a 12-inch lift (the middle of the 10-14" range) for most people. This gives you that perfect eye-level position without overcorrecting. If you wear glasses, add an extra inch to account for lens thickness—your screen should still be just below eye level. I've seen people with screens too high causing chronic neck strain that took months to recover from.
Chair Depth Test: That hand-sliding trick in Step 2 is brilliant, but here's the follow-up: if your chair is too deep and you can't get that gap, try adding a 1-inch thick memory foam cushion to the seat. This gives you that neutral posture without buying a new chair. I've used this with my old office chair for years—it's saved my back more than any fancy ergonomic model.
Mouse Position Game-Changer: For Step 3, most people forget about mouse positioning—it's just as critical as the keyboard. I place my mouse on a vertical mouse tray (about 60-70 degrees) so my forearm stays straight. If you don't have one, try stacking a small book under your mouse to elevate it slightly. The key is keeping your shoulder relaxed—no hunching forward to reach.
Lighting Hack: In Step 4, those 2700-3000K bulbs are perfect, but here's a pro move: if you have natural light coming from one side, position your monitor to use that light source. This reduces eye strain because you're not fighting glare from windows. I've noticed my eyes feel 30% less tired when working with natural light on one side rather than overhead lighting.
Pro Tips for Set Up Ergonomic Workstation
- Here's what I've learned after years of dealing with neck pain and wrist strain—these small tweaks make all the difference.
- The Monitor Height Secret: In Step 1, when positioning your monitor, I recommend using a 12-inch lift (the middle of the 10-14" range) for most people.
- Chair Depth Test: That hand-sliding trick in Step 2 is brilliant, but here's the follow-up: if your chair is too deep and you can't get that gap, try adding a 1-inch thick memory foam cushion to the seat.
Frequently asked questions
Got questions about setting up your ergonomic workstation? You’re not alone! Here are answers to the most common concerns to help you get started without the hassle.
How much does an ergonomic workstation setup cost?
Costs vary widely! A basic setup (adjustable chair + monitor stand) can start at $50–$150, while premium ergonomic chairs or standing desks run $300–$1,000+. DIY solutions (like stacking books for height) can save money while improving posture. Prioritize key adjustments—like chair height and monitor alignment—before splurging.
How long does it take to set up an ergonomic workstation?
With the right tools (like an adjustable chair and monitor arm), you can do it in 5–10 minutes! If you’re starting from scratch (e.g., no ergonomic gear), allow 30–60 minutes for measuring, testing, and tweaking. Pro tip: Use a printable ergonomic checklist to streamline the process.
What if I don’t have an ergonomic chair?
Can I still improve my posture?
Use a cushion or rolled towel for lumbar support, adjust your chair height so feet rest flat, or try a standing desk converter (even a sturdy box works in a pinch). Small changes—like sitting on a yoga ball or using a footrest—make a big difference. Goal: Mimic the 90-90-90 rule (hips/knees/ankles at 90° angles).
Should my monitor be at eye level, or can it be slightly lower?
Ideal eye level is the top 1/3 of your screen, about an arm’s length away. If it’s slightly lower (e.g., 10–15° down), it’s better than nothing—just avoid tilting your head for long periods. Use a monitor riser or stack books to raise it gradually. Warning: Chronic neck strain can lead to headaches or long-term issues.
What’s the best way to troubleshoot ergonomic pain after setup?
If discomfort persists, reassess one adjustment at a time:
- Wrists: Ensure they’re straight (not bent) when typing.
- Shoulders: Relax them—arms should hang naturally at your sides.
- Feet: Both should touch the floor (use a footrest if needed).
- Back: Take micro-breaks every 30 minutes to stretch.
If pain lingers, consult a physical therapist or ergonomic specialist—they can spot subtle issues (like uneven desk height) causing strain.
Wrapping up and next steps
Setting up an ergonomic workstation doesn’t have to be complicated—just a few thoughtful adjustments can make a world of difference in your comfort and productivity! 🌟 By prioritizing proper chair height, monitor alignment, keyboard placement, and movement breaks, you’ll create a space that supports your body while you work.
Remember, small changes today can prevent discomfort tomorrow.
Ready to feel the difference? Start by testing your setup for just 10 minutes—then tweak as needed. Your future self (and your back!) will thank you. Now go make that workspace work for you!